
FRONT LEVER PROGRESSION | CALISTHENICS
Like all static holds, the front lever is made up of different progressions before you can perform the full move. It’s best to train each one thoroughly, only moving on once you’ve fully mastered the previous step.
This isn’t the only way to approach it — but it’s one of the best methods for figuring out exactly where your strength level is at any given moment. Depending on how you’ve been training, you might not need to start from step one if it feels too easy. That’s totally fine — just match the progression to your current level.
Front Lever Progression program

TUCKED FRONT LEVER
This is a very basic progression, but it’s great for getting familiar with the exercise and learning the technique.
Bring your knees up to your chest, just like you see in the image. Make sure to lock your arms out — they should stay completely straight. It’s super important to control your form from the very beginning so you don’t build bad habits later on.

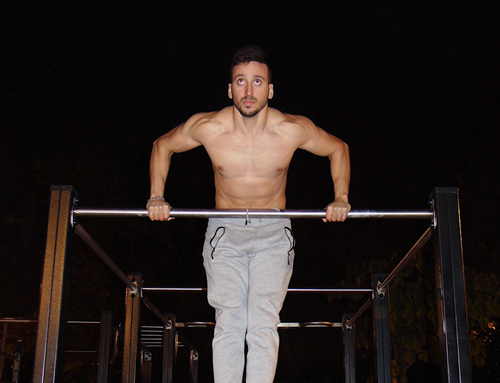
L-SIT FRONT LEVER
This progression isn’t very common, and it’s all about getting into an “L” position — a 90-degree angle between your torso and your lower body.
It’s especially interesting because it lets you train bar rows, one of the most complete pulling exercises out there — and one of the few that work a horizontal pulling pattern.
Get used to holding this position if you want your back workouts to be as complete as possible.

ADVANCED TUCKED FRONT LEVER
Starting from the tucked position, bring your thighs forward. This is where things start to get tricky — even a small shift forward transfers a lot more weight into the movement.
It’s really important to get solid with this variation before moving on to the next progressions.

ONE-LEG FRONT LEVER
This progression is just as valid as the others, which is why I’m including it. That said, I personally don’t train it much, because it’s easy to rely on the leg you feel most comfortable with. If that happens, you might end up creating an imbalance between the muscles on one side and the other — especially in your lats.

STRADDLE FRONT LEVER
This is basically a front lever with your legs spread apart. How wide you can open them will depend on your hip flexibility. The wider your legs, the easier the progression gets.
The goal, though, is to bring them closer together little by little so you’re as close as possible to the full front lever.

FULL FRONT LEVER
This is the final position of the front lever. Both legs should be kept together and aligned with your body. Keep your toes pointed and your elbows fully locked — bending your arms makes the front lever much easier.
You can find all the detailed info about this skill in my introductory article.
Stop Guessing. Start Growing.
Get a professional roadmap built specifically for your current level and goals.
Get My Personalized PlanI hope these progressions help you out and that you nail the front lever soon. From now on, you can start adding them into your front lever routines.
Just a quick reminder: make sure you respect proper form in every single variation we went over.
If you’ve got any questions, drop them in the comments below. Cheers!


Leave A Comment