Last modified on October 2, 2026 by Javier González
Calisthenics Back Exercises Top 3 Anatomy & Guide
In bodyweight training, muscle growth and real strength come down to three factors: pulling angles, scapular mechanics, and leverage. Explore the muscle breakdown below and interact with each exercise to dial in your form:
Pull-ups (Overhand Grip)
Pull-ups are the definitive vertical pulling exercise in calisthenics. If you want to develop and widen your back, you must include them in your workouts. Even though it is a classic staple used forever, there are still plenty of doubts about proper technique, which muscles actually fire, and how to program them.
This is easily one of the most powerful upper-body movements you can do in Street Workout, rivaled only by handstand push-ups. The difficulty sits at an intermediate level, or even challenging if you have never trained before. If you cannot hit a clean rep yet, do not stress! Try resistance band-assisted pull-ups or start building strength on australian pull-ups to land your first repetitions. If you can already blast through sets comfortably, add a dip belt with weight and adjust the load yourself.
Muscles Worked:
- Lats: Strengthening the lats stabilizes your spine and pelvis. This is the ultimate exercise for building back width and that sharp V-taper.
- Core: Strict execution forces you to keep your abs braced to stabilize your body and stop swinging.
- Biceps: The pulling mechanics activate them heavily. You rarely need extra arm isolation unless you have very specific goals.
- Secondary Muscles: Forearms, lower traps, rhomboids, infraspinatus, and glutes all fire to maintain whole-body tension.
Step-by-Step Form:
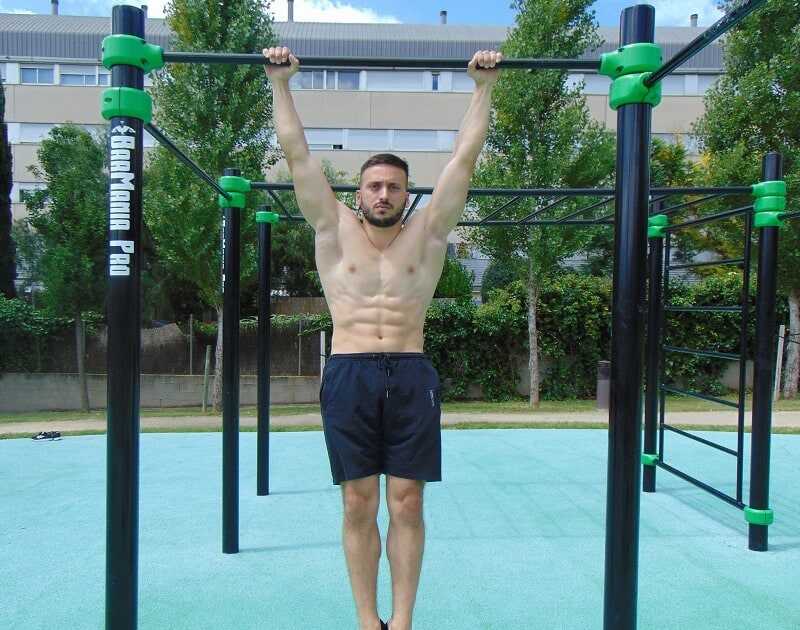
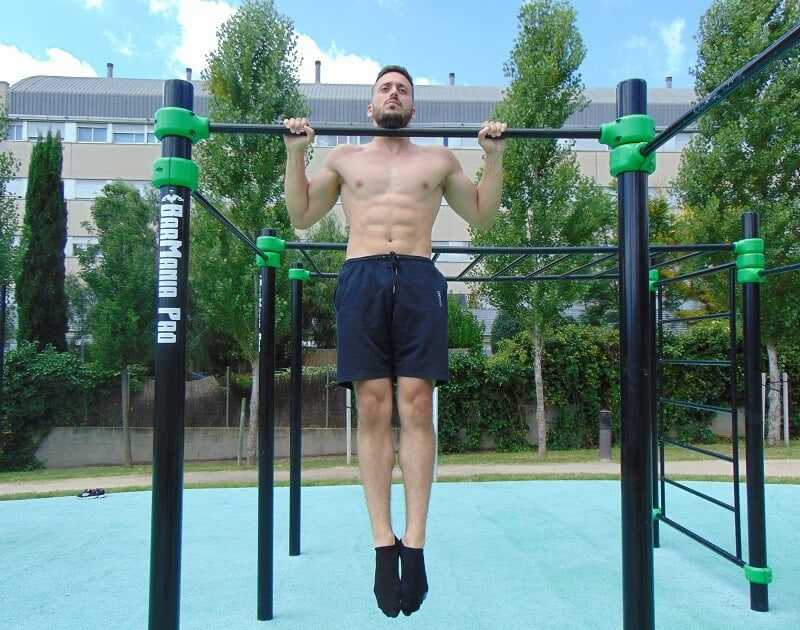
Pull-up technique is not overly complicated, but it is often the most butchered exercise at the park: kipping for momentum, partial ranges of motion without full lockouts at the bottom or chin clearance at the top, and loose abs without body control. Make sure you follow these points:
Grip: The staple grip I stick to almost always is overhand (palms facing away), set at shoulder width or slightly wider. You can also experiment with neutral or underhand grips to change up the stimulus.
Range of Motion: Start in a full hang with elbows locked out, as shown in the visual above, and pull explosively until your chin clears the bar. Touching your chest to the bar is even better, but chin over the bar is the non-negotiable minimum.
Body Position and Control: Lock your abs and glutes. Pull as if you are trying to yank the bar down to you rather than just lifting yourself, and control the descent (negative phase) over 2 seconds so swing does not ruin your next rep.
Australian Pull-ups (Inverted Rows)
One of the first exercises anyone learns in Street Workout is the australian pull-up. It works almost the exact same muscle groups as pull-ups, making it your greatest ally for building foundational pulling strength if pull-ups feel out of reach.
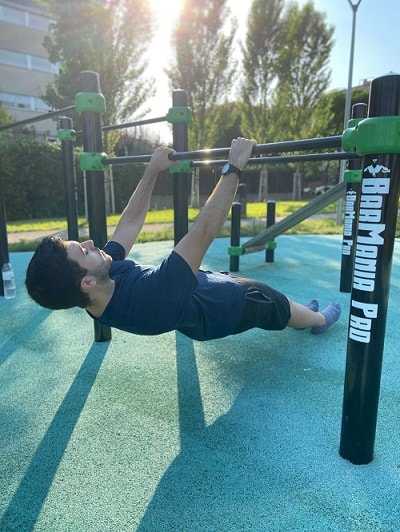
The best part about this movement is that anyone can do it. You adjust the difficulty simply by changing your body angle relative to the floor. Bending your knees makes the exercise lighter, while elevating your feet on a box or bench increases the load. You will train this on a low bar, but if your park does not have one, standard parallel bars do the job just as well.
Muscles Worked:
- Mid Traps and Rhomboids: The clear drivers of scapular retraction as you squeeze your shoulder blades toward the bar.
- Lats: Act as the primary engine for the horizontal pull, firing hard as your elbows drive back.
- Core: Crucial for keeping your body in one unbroken straight line from head to heels.
- Biceps: Pull hard in an overhand grip, and work even harder if you switch to an underhand grip.
- Glutes: Essential for posture. If you relax your glutes, your hips sag and your form breaks down.
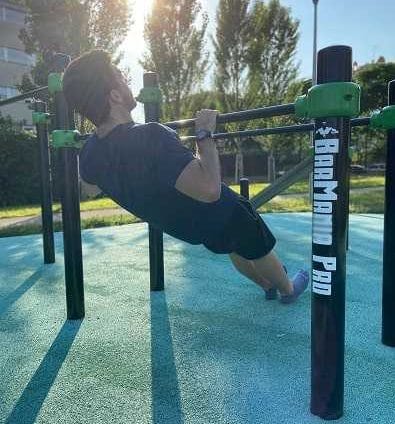
Step-by-Step Form:
Grip and Stance: Grab the bar overhand at shoulder width. Because this exercise is versatile, feel free to rotate through wide, shoulder-width, and narrow grips, or test an underhand grip to hit your biceps with a different stimulus.
Body Position: As you can see in the visual, keep your body locked in a straight, rigid plank. The more parallel your torso is to the floor, the higher the percentage of your bodyweight you pull.
Execution: Start with elbows locked out, then pull until the bar touches your chest. Hold for a full second while actively squeezing your shoulder blades together before lowering under control.
Front Lever Rows (L-Sit / Advanced Tuck Rows)
The Front Lever is one of the most iconic, grueling back statics in street workout. While full straight-leg front lever rows are an elite feat of strength, there is a powerful progression for intermediate and advanced athletes: L-Sit / Advanced Tuck Front Lever Rows (legs at 90 degrees).
I emphasize this exercise because athletes tend to overdo vertical pulling (pull-ups) while neglecting heavy horizontal pulling. This movement is the perfect partner to your pull-up sets once you already have a solid back and feel comfortable holding the isometric lever for several seconds.
Muscles Worked:
- Lats: Handle the harsh horizontal gravitational leverage while driving the bar toward your hips.
- Traps and Rhomboids: High-threshold recruitment to keep your shoulder blades pinned and rock-solid against gravity.
- Core and Hip Flexors: Strict core tension to hold your legs suspended at a clean 90-degree angle without sagging the lower back.
- Biceps, Brachialis, and Forearms: The elbow flexors pull hard while your grip and forearms support your entire suspended bodyweight.
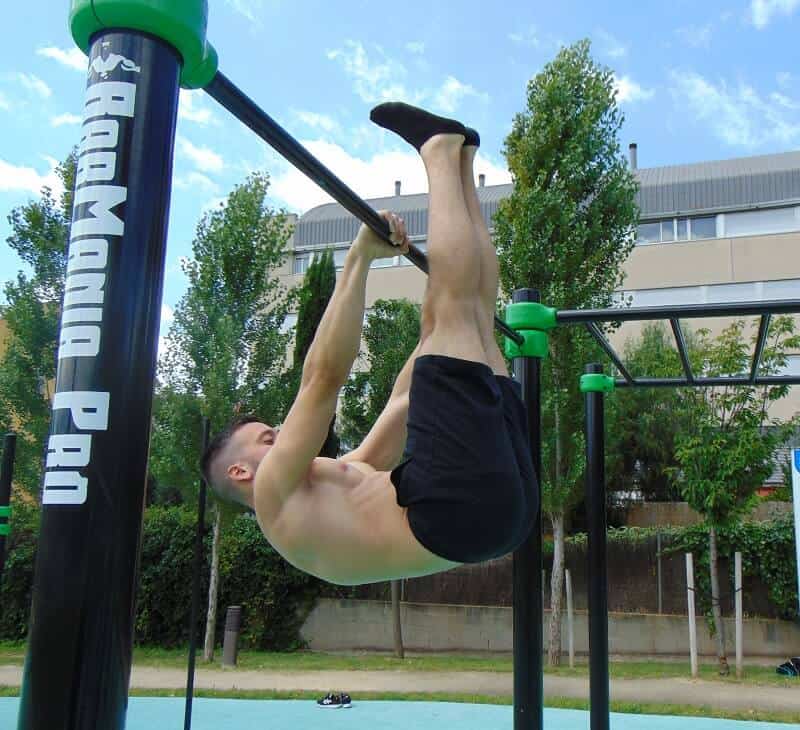
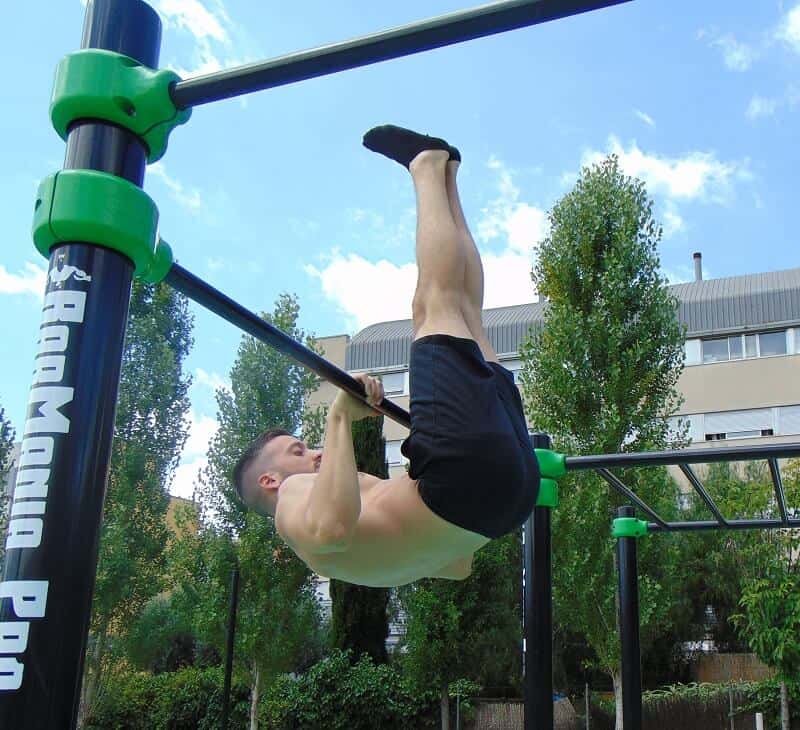
Step-by-Step Form:
Setup: Hang from the bar and pull yourself up until your torso is parallel to the ground, with your legs locked at a 90-degree angle (L-position). Start with your arms completely extended before initiating the pull.
The Dynamic Pull: Drive your elbows back aggressively. Aim the bar toward your lower belly or hip crease instead of pulling toward your neck; pulling too high overloads the front shoulders and kills lat engagement.
Eccentric Control: Lower yourself over 2 controlled seconds until your arms reach full extension, keeping your body horizontal without dropping into a dead vertical hang.
How to Program These Exercises in Your Routine
Balanced back development comes down to pairing one vertical pulling vector with one horizontal vector based on your current strength level:
Beginner Level
Prioritize Australian Pull-ups (3-4 sets of 8-12 reps) alongside negative eccentric pull-ups or band-assisted pull-ups (3 sets of 3-5 reps).
👉 Check out our complete beginner calisthenics workouts.
Intermediate Level
Combine strict Overhand Pull-ups with rep progression (4 sets of 6-10 reps) and finish with Australian Pull-ups (3 sets taken close to technical failure).
👉 Put it to work with our intermediate calisthenics workouts.
Advanced Level
Lead the session with Tuck Front Lever Rows or heavy weighted pull-ups (4 sets of 4-6 high-quality reps) and finish with antagonist or pulling supersets.
👉 Step up to our advanced calisthenics routines.
Leave A Comment